King’s Fall raid guide – Destiny 2
A complete walkthrough and guide for the King’s Fall raid from the Season of the Plunder in Destiny 2.
The latest season of Destiny 2 brings with it the King’s Fall raid. For those that played through the first Destiny, this will be familiar territory. But no matter whether you’ve played it before or this is your first time through, some things will be new and exciting. To help you conquer Oryx, The Taken King, we’ve prepared a King’s Fall raid guide detailing each encounter and what weapons and builds to bring.
The following guide will be updated frequently as we work through this revised King’s Fall raid. It was last updated on August 26, 2022 at 2:08 p.m. EDT.
Use the following links to jump to the appropriate section of the King’s Fall raid:
- Relics & opening the gate
- Hive ship jumping puzzle
- Annihilator Totems
- The Warpriest
- Golgoroth
- Piston wall jumping puzzle
- Daughters of Oryx
- Oryx, The Taken King
Shacknews World’s First King’s Fall raid attempt
Tune in as Sam fights through the King’s Fall raid with his mates during the World’s First attempt. The livestream begins at 9:00 a.m. PT / 12:00 p.m. ET on August 26, 2022.
King’s Fall build and weapon recommendations
The King’s Fall raid has a lot of encounters where players must stick together while also fighting groups of enemies. For this reason, add clear and control Supers area ideal. Consider using Nightstalker tethers to neutralize enemy movement, Well of Radiance and Ward of Dawn to provide long-lasting protection, and roaming Supers to clear groups of Hive and Taken.
For weapons, there are the usual suspects that will make raids easier. Consider equipping a player with Divinity to boost the team damage by 20 percent, Outbreak Perfected with its Exotic Catalyst for greater team DPS, Gjallarhorn for boss fights, and even Tractor Cannon for self-preservation.
In terms of non-Exotic weapons, you will want to consider slug shotguns for boss damage, especially against Golgoroth, Sniper Rifles for dealing with the Warpriest, Sisters, and Oryx, and Champion-mod specific weaponry.
Here are some weapons you might consider having. Firing Line on the shotguns and snipers will help with boss damage. Failing that, Vorpal Weapon is the next best thing. For the Grenade Launchers, Blinding Grenades will help if you’re taking too much heat from the enemies.
- Shotguns: First In, Last Out, Sojourner’s Tale, and Heritage
- Sniper Rifles: Succession, IKELOS_SR_V1.0.2, Fugue-55, Thoughtless
- Grenade Launcher: Ignition Code, Truthteller, Explosive Personality, and Empty Vessel
Relics & Opening the gate
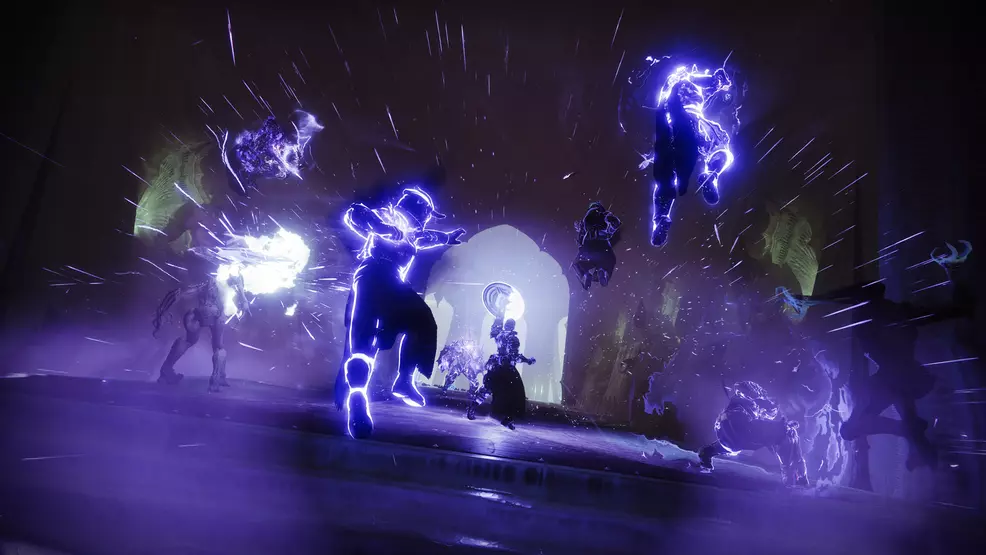
The first encounter in the King’s Fall raid is about opening up the Hive portal by dunking relics at statues in the middle.
- Split your team into two groups, send one group left and the other right
- Work together to collect orbs and take them back to the center
- Destroy shields that block doors to gain access to the center to dunk orbs
To begin, split your team into two groups of three players. The goal is that one group will take the left side and the other will take the right side. Within your groups, work out who will pick up and carry the orb. The other two players are responsible for defeating enemies and breaking the barriers on the doors.
Whenever you pick up an orb, the doors that lead back to the statues will become sealed. The players who are not carrying an orb should destroy the barriers blocking the way. Guard the orb carrier as they make their way back to the center. Dunk the orbs at the statues and then go back out to collect the next orb.
Each orb will be slightly further away than before. Once all six orbs are deposited, the Hive portal will open. Speed is of the essence here, as taking too long can cause the statues to lose their charge.
One strategy is to leave one or two players in the center room to clear enemies that spawn. Another idea is to destroy the doorway and then quickly get into position to collect the next orb while the first orb carrier finishes their job
Hive ship jumping puzzle
Jump from ship to ship until you reach the end. This is an OG jumping puzzle for Destiny as a franchise.
Annihilator Totems
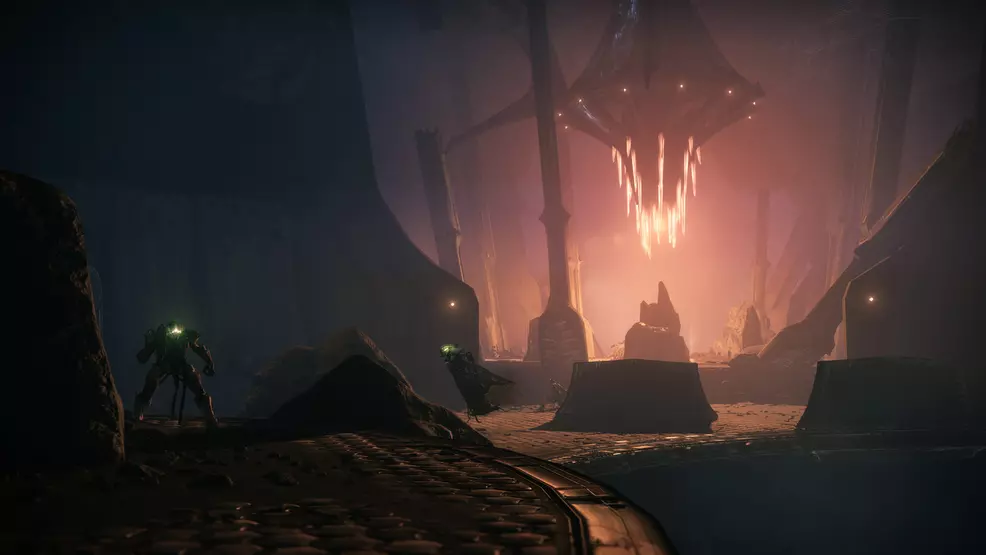
The Annihilator Totems encounter requires players to stand below Annihilator Totems, juggle buffs, and charge a central plate.
- Brand of the Unraveler/Weaver stands on plate below Annihilator Totems
- Brand transforms into Deathsinger’s Power
- Players with Deathsinger’s Power stand on middle plate until drained, return to sides
There are three mechanics to remember during this fight:
- Brand of the Unraveler / Brand of the Weaver: Creates an aura that protects nearby players from the poison in the side rooms
- Deathsinger’s Power: Drained by standing on the central plate
- Annihilator Totems: Must have a player standing below the tower or it will wipe the team after a few seconds
The Annihilator Totem part of King’s Fall requires players to charge a central plate with Deathsinger’s Power. This buff comes from holding the Brand of the Unraveler or the Brand of the Weaver (one buff applies to the left side room, and one to the right side room). Once the Brand has been held, it must be manually transferred to a nearby player and the original player will deposit Deathsinger’s Power they have accumulated. The player with the stacks of Deathsinger’s Power must move to the center room, stand on the center plate, and stay there until the Deathsinger’s Power fully drains from their character.
Detailed walkthrough
Take note of the fact there are three rooms: left, center, and right. Split your team into two groups of three, with one team taking the left side, and one the right side. One player from each team will grab an orb as they run to their side room. This orb will give them either Brand of the Unraveler or Brand of the Weaver (depends on the side, but essentially the same thing), which each have a 30-second timer. If the timer expires before the buff is passed to another player, the player who was holding the buff as it expired will die.
To begin, the player that grabs the Brand of the Unraveler / Brand of the Weaver buff will go stand on a plate in their side room and defeat enemies. While doing this they will need to get kills to accumulate Deathsinger’s Power. One of the two remaining players on their team must defeat a Blightguard that spawns on one of the upper balconies in the center room. This Blightguard will drop a buff called Brand Claimer, which must be picked up and taken to the player who is standing on the plate in their side. This will transfer the Brand of the Unraveler / Brand of the Weaver to the second player, who then stands on the plate in their side room, while the original player to stand on the plate moves to the center room, stands on that plate, and lets their Deathsinger Power stacks drain.
The Brand of the Unraveler / Brand of the Weaver buffs provide an aura which protects players from the poison in the side rooms. This is important as an Annihilator Totem is in each side room and must have a player standing below it or it will wipe the team. This is where the difficulty of the encounter comes from, as buff transferring and timing is key.
Continue to juggle the buffs between your team of three (the team on the other side of the room is doing the same). Continue this loop until the encounter is complete, as there is no boss to defeat. This is simply a hot-potato encounter that requires timing and teamwork.
As for weapons during the Annihilator Totem fight, consider using decent wave clear and add control weapons. Consider Forbearance for defeating groups of enemies, a Grenade Launcher with Blinding Grenades to give you some breathing room, and Power weapons capable of mowing down a lot of Hive. Xenophage is great for taking out Brandguards quickly, which is essential. You might also consider long-range Supers for clearing powerful foes, or a sniper for taking out Knights while you’re standing on a side-room plate.
The Warpriest
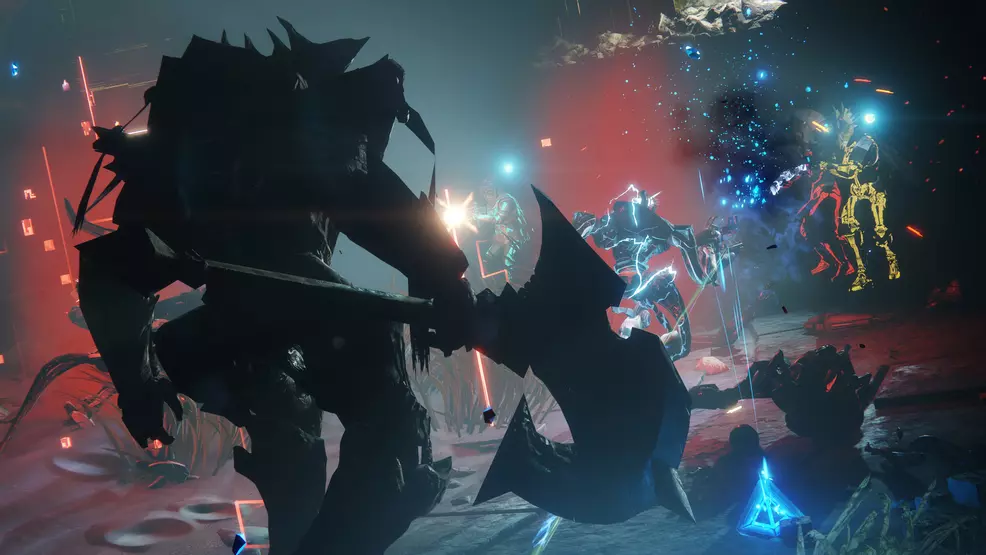
Original Warpriest challenge: Don’t hold the Brand of the Initiate more than once
The Warpriest encounter has players standing on plates in the correct sequence and using a buff to deal damage to the boss.
- Defeat enemies and Hallowed Knights
- Call out Glyph sequence, stand on plates in matching order
- Damage Warpriest while managing Brand of the Initiate
- Hide from Oculus blast by standing behind Monolith
There are a few mechanics to note during the Warpriest encounter:
- Brand of the Initiate: Generates an aura that allows damage to the Warpriest. Has a timer that counts down. Buff holder must defeat an enemy before the counter reaches zero or they die. Defeating an enemy removes one charge. When all charges are removed, buff disappears.
- Monoliths: Glow in a set sequence each rotation. Gives a buff to the Warpriest when absorbed by the Oculus.
- Plates: Must be activated in the order that matches the Monolith glows. The player that stands on the last plate receives the Brand of the Initiate.
Stand on the plate to start the Warpriest fight. From here, defeat enemies until a Hallowed Knight in each area is defeated (left, middle, right). At this point, lights on the back of the Monoliths will begin to glow, creating a sequence. Have one player call out the order the Monoliths glow and have other team members stand on each plate. The player on the final plate will receive the Brand of the Initiate. Group up around the Brand holder to receive a buff called Aura of the Initiate, allowing you to deal damage to the Warpriest.
The Brand holder will have five stacks of the Brand of the Initiate with each stack having a 10 second timer. The holder must get a kill before the timer runs out or they die. Each kill they get will reset the timer and remove one charge. The goal is to wait until the last possible second to get a kill. When all the charges have been removed, the team will only have a few seconds left before the aura disappears.
When the Brand of the Initiate and Aura disappear, the Warpriest will call upon the Oculus. Hide behind one of the Monoliths to avoid being killed. The Oculus will destroy the Monolith and give the Warpriest a new Taken power.
From here, repeat the steps, hiding behind one Monolith at a time until there are none left. Players will have a maximum of four rotations to defeat the Warpriest.
As for damaging the Warpriest, Whisper of the Worm may be a viable option given it was useful in Destiny 1. Alternatively, Sniper Rifles and Linear Fusion Rifles with Firing Line, Divinity for the buff or Tether for the debuff, as well as Witherhoard and Fusion Grenades could be excellent options.
Golgoroth
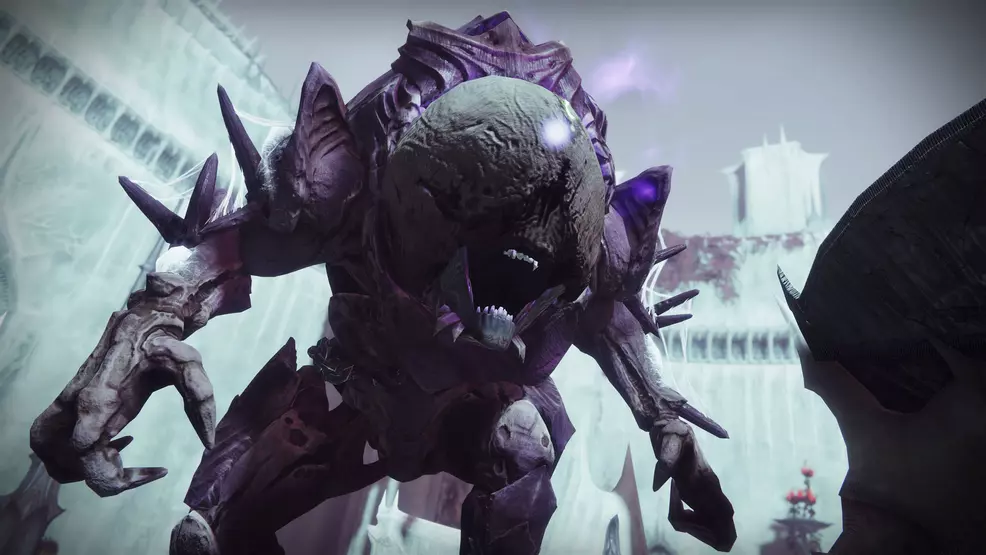
Original Golgoroth challenge: All six players must hold the Gaze once per damage phase
The fight against Golgoroth has players using orbs of Light to deal damage to Golgoroth’s stomach while two players trade his gaze back and forth.
- Destroy orb to start fight and then defeat enemies
- Break orb to begin damage phase, one player shoots Golgoroth in the back to get his Gaze
- Players jump down into pool and deal damage to Golgoroth
- Two players trade Golgoroth’s Gaze back and forth while more orbs are shot for more damage pools
The Golgoroth fight introduces a few new mechanics that only appear during its encounter:
- Orbs & Pools: Orbs will hang from the ceiling, destroying them creates pools of Light on the ground. Standing in a pool grants increased damage to Golgoroth.
- Golgoroth’s Gaze: After shooting Golgoroth’s back, he will turn and fire darts at the player for 20 seconds. This stops Golgoroth from killing anyone down at his feet.
- Unstable Essence: Randomly selects a player, causing them to explode, killing anyone around them.
Start the Golgoroth fight by destroying the central orb. Avoid getting blasted by Golgoroth while you clear out waves of enemies. When the enemies stop spawning, destroy an orb to create a pool of Light and have one player shoot Golgoroth in the back. The player who shot his back will now have the Golgoroth’s Gaze debuff, allowing all other players to safely damage the boss from the pool.
Before the Golgoroth’s Gaze debuff ends, a second player must shoot Golgoroth in the back, taking the debuff. This allows the damage team to destroy another orb and continue damaging from the new pool of Light. Continue transferring Golgoroth’s Gaze and using new pools by destroying orbs until all six orbs have been used.
Players will need to get out of Golgoroth’s arena before the Golgoroth’s Gaze debuff ends. Anyone standing down on the ground will be instantly killed by the boss when the debuff runs out. Repeat the process until Golgoroth is defeated.
When Golgoroth loses a certain amount of health, the Hive enemies will be replaced by Taken foes. Players will also need to contend with enemies spawning in the arena during damage phases. To combat this, consider using Ward of Dawn with Saint-14 helm to blind enemies, Anarchy to create a defensive perimeter, or area-of-effect grenades to keep you safe.
There is also a Tablet of Ruin at the far side of the arena. Whenever a player dies, a rune will appear on the tablet. When six runes appear, the team will wipe.
In terms of damage phase in Destiny 2, players should consider slug shotguns given that this is a close range fight like Templar and Taniks. A Tractor Cannon will help debuff the boss, as will Tether. Alternatively, Sniper Rifles remain an excellent choice for high damage output.
Piston wall jumping puzzle
Work your way along, across, and back to the wall full of pistons. We couldn’t mantle when this was originally released, so you have it easy, Guardian!
Daughters of Oryx
Original Daughters of Oryx challenge: No challenge
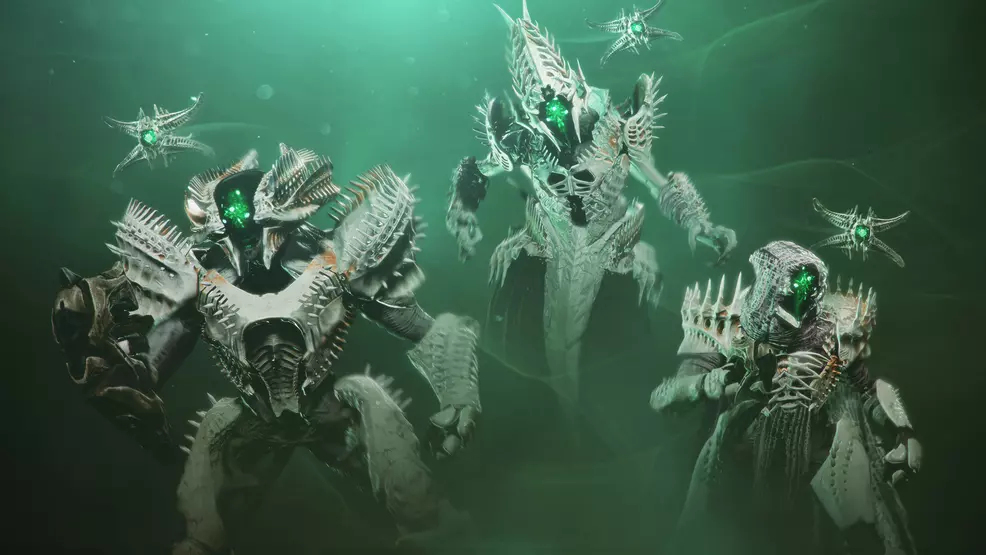
The Daughters of Oryx encounter in King’s Fall has one player carrying a Spark around an Ascendant path and then dunking it on a boss, removing its shield. A damage phase occurs, followed by another round of dunking.
- Stand on plate to collect Spark
- Stand on plates in sequence to generate Ascendant path
- Spark runner crosses path, dunks on glowing boss
- Defeat daughter, repeat steps for other daughter
The Daughters of Oryx fight takes place in the same arena as the Oryx fight. This encounter introduces the Ascendant path in the air and the Spark runner.
- Spark runner: The player who stands on the platform will receive the Spark and become Ascendant. This player can jump across the Ascendant path that forms when players stand on the other platforms.
- Ascendant path: A wispy path that forms in the air. Must be formed in the correct order to create a bridge spiralling upward.
Begin the fight by having one player grab the wispy Spark from atop a platform. They will become Ascendant. The other players must jump up onto their platform in sequential order. If done correctly, an Ascendant path will form, allowing the Spark runner to ascend to collect another charge. This charge is then dunked on the boss that is glowing, removing its shield.
Players should group up and damage the boss. In Destiny 1, the strategy was to avoid defeating the boss, choosing instead to get its health down extremely low. When the damage phase ends, repeat the process but this time, dunk on the second boss and defeat her. Quickly kill the first boss that you left on low health.
The reason players opted for this method is that it allowed for three rotations in the event not enough damage was dealt to the second boss. If you had of killed the first boss but could not defeat the second, it would cause a wipe.
For the damage phase, weapon selection will depend on your distance to the boss. If you’re further away, Sniper Rifles will be key. If you’re up close, slug shotguns are the way to go. Regardless of distance, Linear Fusion Rifles remain a great choice as does Gjallarhorn with a team full of Legendary Rocket Launcher users.
Oryx, The Taken King
Original Oryx challenge: Oryx’s health must go from 100% to 0% in one go by detonating 16 bombs at once
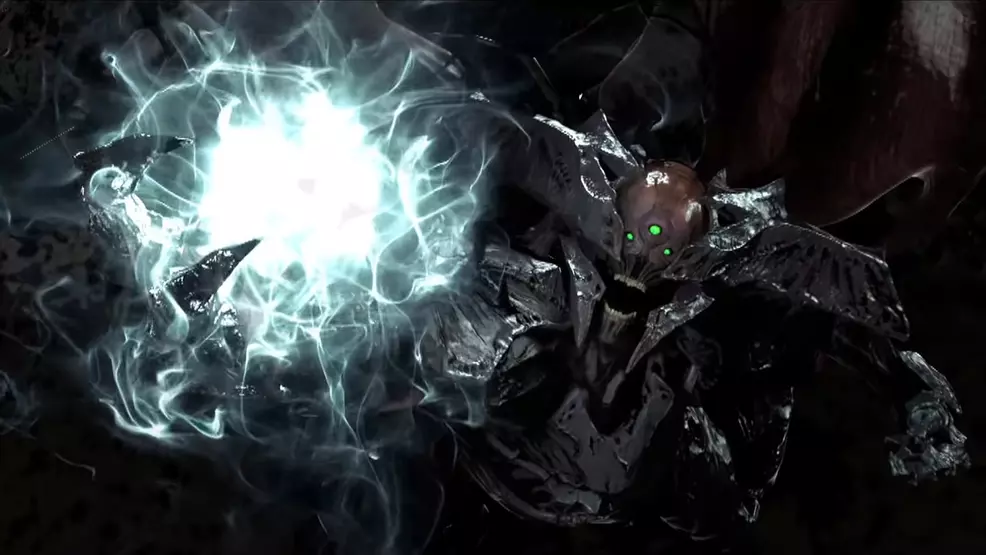
The fight against Oryx, the Taken King is one of the longest encounters in the game. Instead of using traditional weapon fire to defeat Oryx, players must detonate Taken Corrupted Light around the map.
- Spark runner jumps onto first platform, next platforms follow in sequence
- Runner collects buff while other players defeat Ogres and Knights
- Runner steals buff from Vessel of Oryx, all players group up to deal damage to Oryx’s chest
- Four players run to Corrupted Light bombs to active them, return to middle to avoid damage
- During Shade of Oryx fight, defeat Shade to leave the dome
- All steps repeat until Oryx runs out of health, then defeat Oryx during his final stand
The Oryx encounter has a few different phases each with their own mechanics.
- Corrupted Light: Dropped by Light-Eater Ogres. Standing next to one actives it, causing it to explode and deal damage to Oryx if he has been stunned
- Shade of Oryx: One player at a time is teleported into the arena to fight the Shade of Oryx. When the Shade is defeated, all players are freed and the next phase begins
- Torn Between Dimensions: The first player who jumps on to the platform near Oryx receives this buff, allowing them to climb the Ascendant path.
- Brand Claimer: Runner grabs this buff and can now steal the buff from the Vessel of Oryx.
Start the fight against Oryx by approaching the wisp at the front of the room. Defeat enemies until Oryx picks a side. The platform Oryx slams is the starting platform for the runner. Have the runner jump up first to grab the Torn Between Dimensions buff followed by someone to stand on the platform. As soon as the first platform is stood on, the next person counter clockwise should jump on to their plate, followed by the next person. When three people are on the platforms, the Ascendant path will be built.
As the runner is jumping up the path to collect the spark, Light-Eater Ogres will spawn in the corners. Defeat them and they will drop Corrupted Light. For every Ogre that is defeated, a Light-Eater Knight will spawn. Defeat the Knights before they eat the Corrupted Light.
When the runner grabs the Brand Claimer buff, they will need to jump down to steal the brand from the Vessel of Oryx. Defeat the Vessel and group up to deal damage to Oryx. “Oryx calls upon the Darkness” will appear on screen and his chest will open; shoot his chest to stun him. While Oryx is stunned, four players must run to their Corrupted Light and stand in it until it actives while the other players keep shooting Oryx’s chest. Run back to the Aura of Immortality to survive the explosion.
Oryx will move to the front of the ship and the Shade fight will start. Players will be teleported one at a time in to a thunderdome. While inside this arena, a Shade of Oryx will haunt the perimeter, sometimes rushing in to slam his sword. Destroy the Shade to free yourself from the dome. The fight will now repeat until Oryx is defeated or the enrage timer activates. Remember that Oryx is a final stand, so ensure you are ready to hit him with everything you’ve got.
There are a couple of strategies to employ to make some parts of this fight easier. For example, have your weakest or ill-equipped player stand on the second plate. This will ensure they always have someone with them on their side of the room. Players one the first and third plate should be able to handle the additional Light-Eater Knight by themselves. Another good idea is to have a Titan with a Ward of Dawn or Warlock with Well of Radiance in the center. Their job will be to help destroy the Ogres as they spawn.
As for weapons and builds, because this isn’t a typical damage-check encounter, survivability is key. Try and ensure you are using mods that will keep you alive, reduce damage taken, or weaken enemies around you. Tractor Cannon may come in handy when dealing with Ogres and Knights. Long-range weapons are also important so you can deal consistent damage to Oryx’s chest.

